.avif)


.avif)
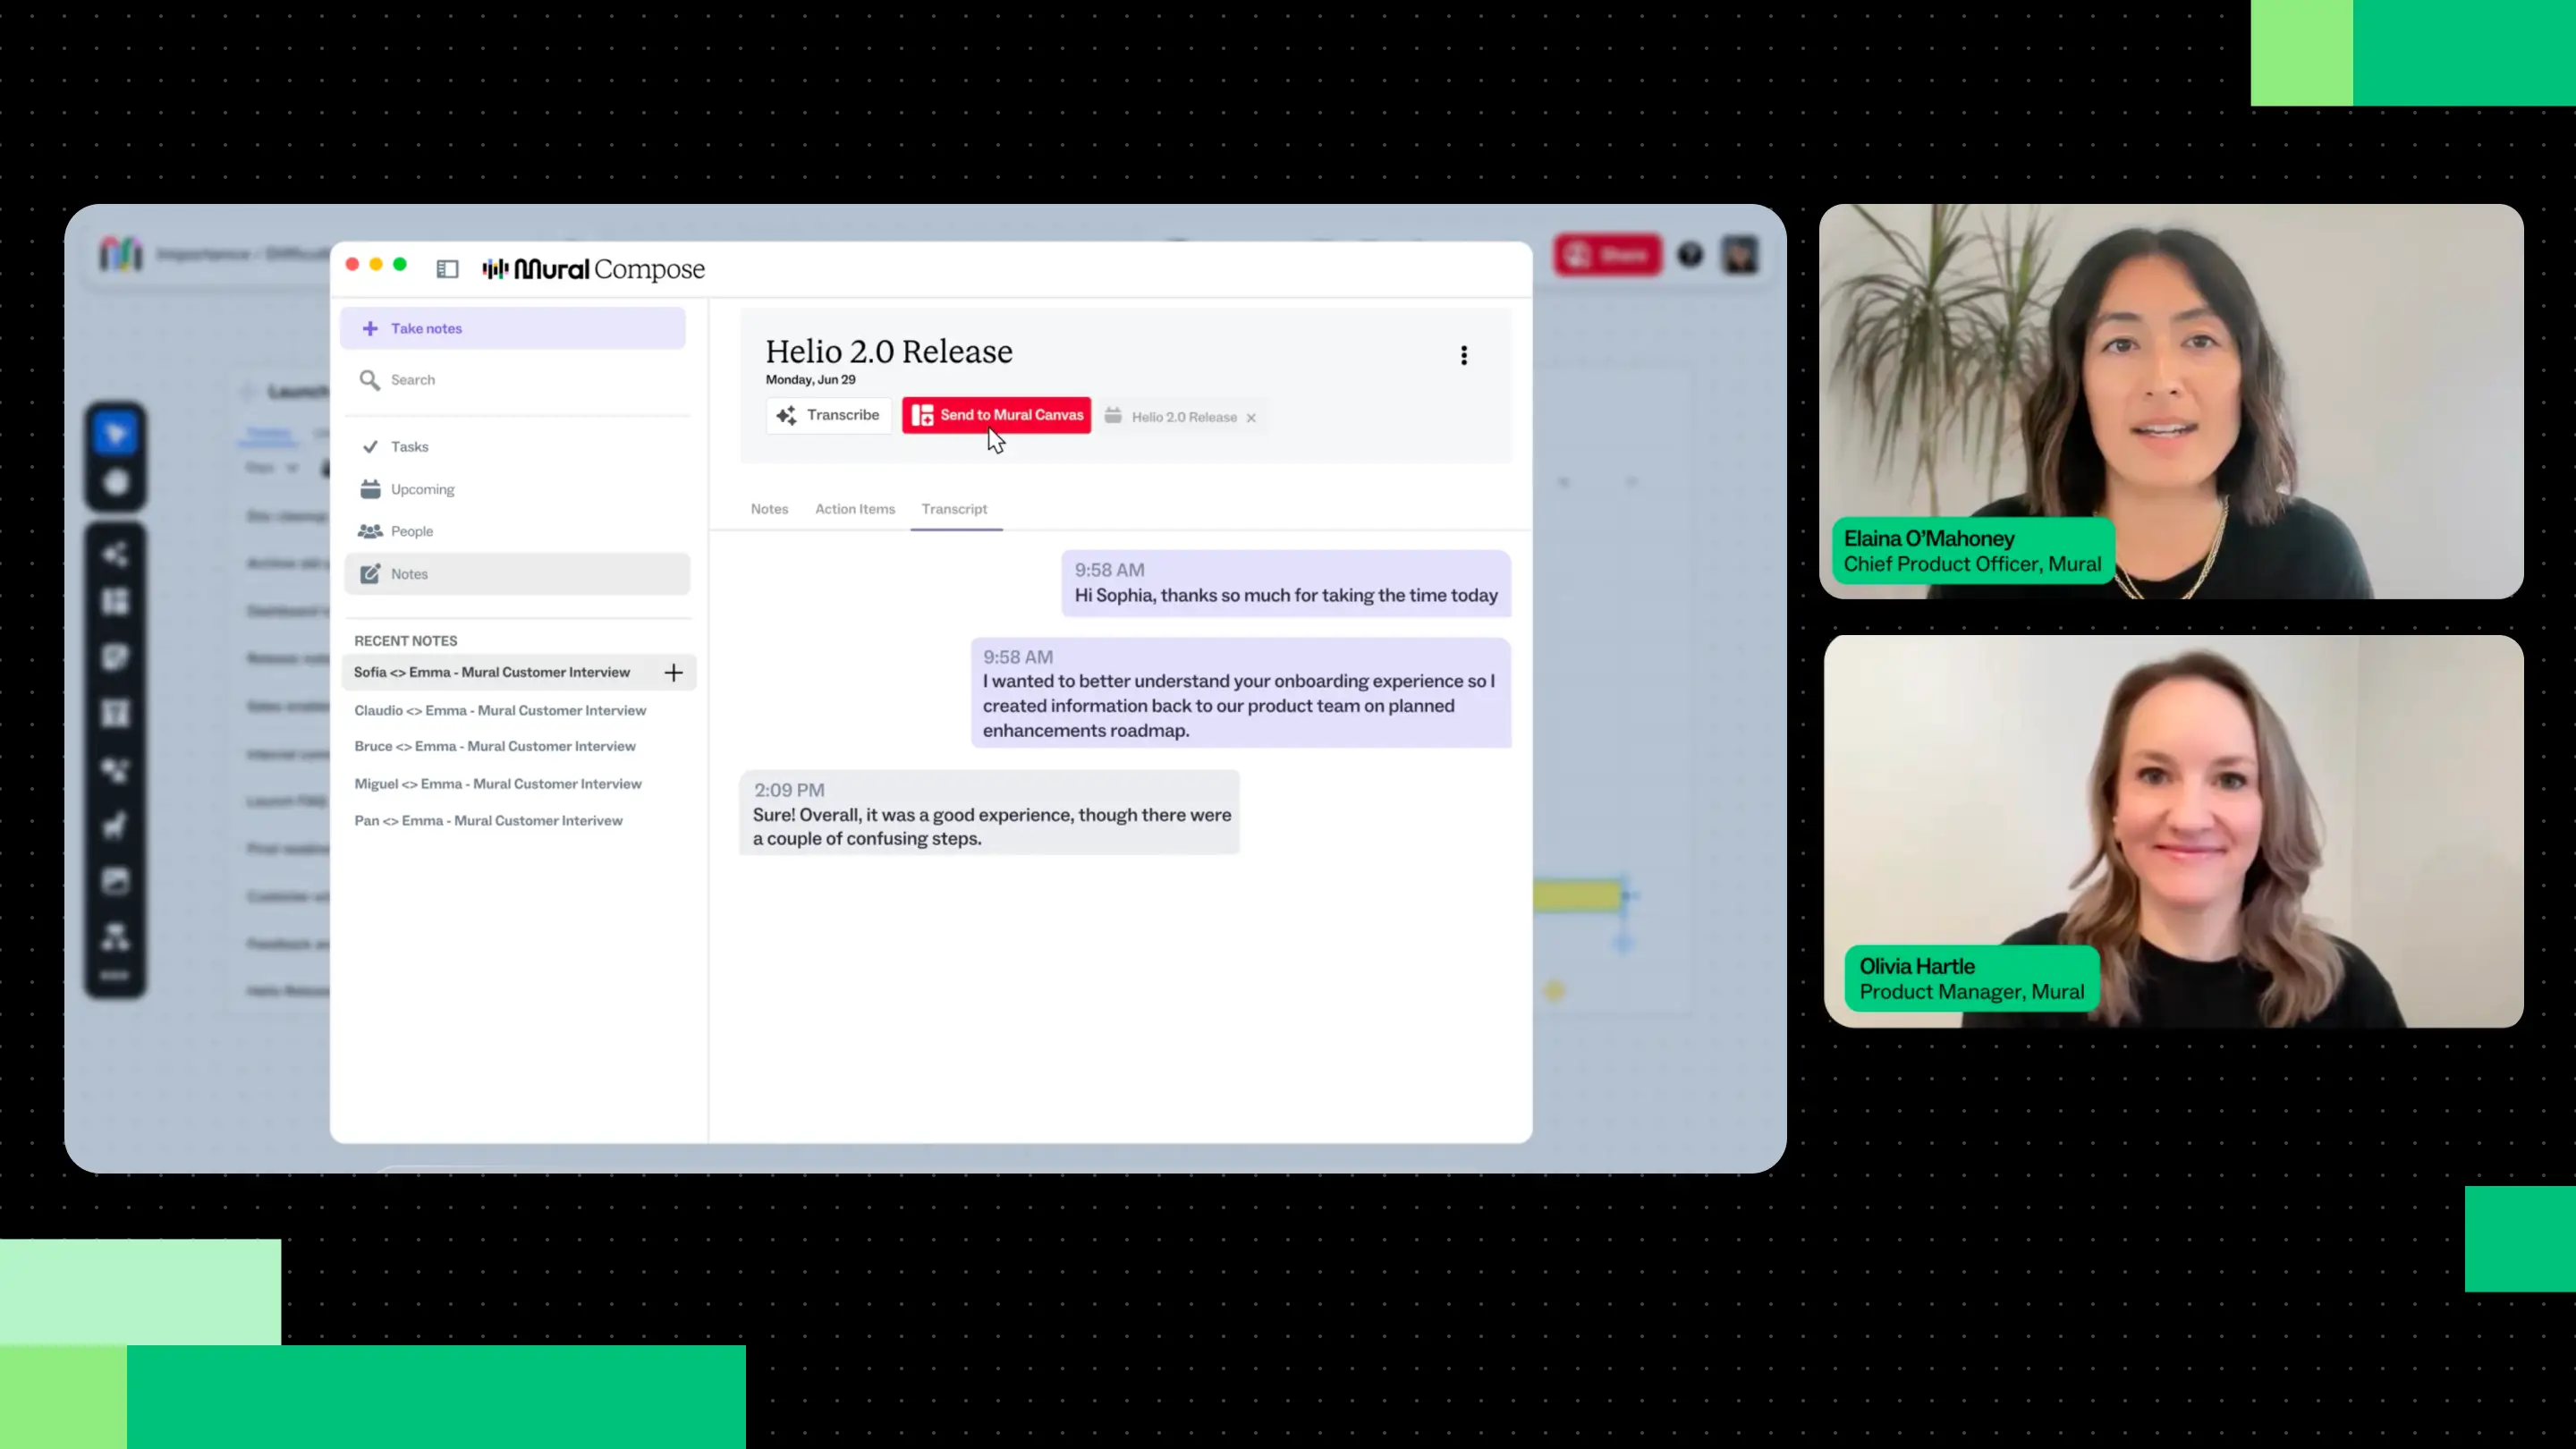
Why use Mural as your visual organizer?
- Visual Magic: Drag and drop sticky notes, diagrams, and charts to create a dynamic, interactive workspace.
- Real-Time Collaboration: Our client collaboration tool helps your teams work together seamlessly, even if you're miles apart. Mural allows multiple users to contribute and interact in real time, making collaboration smooth and synchronous.
- Organized Chaos: Keep everything tidy with customizable templates and structured boards. Say goodbye to clutter and hello to organized, easily navigable project spaces.
- Easy Integration: Mural integrates with tools like Slack, Microsoft Teams, and Google Drive, making it easy to sync and share your work across platforms.
- Feedback Made Simple: Clients can leave comments and suggestions directly on the board, making feedback a breeze to collect and act on.
How to use Mural as your graphic organizer platform
Creating a graphic organizer in Mural is a straightforward process. Mural is a digital workspace designed for visual collaboration, making it perfect for creating various types of graphic organizers. Here’s a step-by-step guide to help you get started:
Step 1. Sign in and create a new mural
- Sign In: Log in to your Mural account.
- Create a New Mural: Click on the "Create New Mural" button.
Step 2. Choose a template or start from scratch
- Select a template from the template library: Mural offers a variety of templates that you can use as a starting point. You can search for templates like "Mind Map," "Venn Diagram," "Flowchart," etc.
- Start from scratch: If you prefer, you can start with a blank canvas.
Step 3. Add elements to your graphic organizer
- Stickies: Use sticky notes to add text. You can change the color and size of the stickies to categorize information.
- Shapes: Add shapes like circles, squares, and arrows to structure your organizer. You can find these in the toolbar on the left side of the screen.
- Text boxes: Use text boxes to add detailed information.
- Lines and connectors: Draw lines and arrows to connect different elements and show relationships.
Step 4. Customize your graphic organizer
- Change colors: Customize the colors of your shapes, stickies, and lines to make your organizer visually appealing and easy to understand.
- Add images: You can upload images, gifs, or icons to enhance your graphic organizer.
- Group elements: Group related elements together to keep your organizer easy to understand.
Step 5. Collaborate and share
- Invite collaborators: Invite team members or colleagues to collaborate on your graphic organizer. They can add their own ideas and make changes in real time.
- Share your mural: Once you’re done, you can share your mural via a link or export it as an image or PDF.
Graphic organizer example: creating a mind map
- Start with a central idea: Place a sticky note or a shape in the center of your canvas and write your main topic.
- Add branches: Draw lines or arrows from the central idea to create branches for subtopics.
- Add subtopics: Use sticky notes or text boxes to add subtopics to each branch.
- Expand further: Continue branching out from each subtopic with more detailed ideas.

How to effectively use a graphic organizer in Mural
- Use color coding: Assign different colors to different categories or levels of information.
- Keep it simple: Avoid cluttering your graphic organizer with too much information.
- Regularly review: Periodically review and update your graphic organizer to keep it relevant and useful.